Digital Catalog Design Guide in Adobe Illustrator: Creating Visual Masterpieces with Vector Precision
If InDesign is the "Engineer" and Canva is the "Assistant," Illustrator is undoubtedly the "Artist" of the group. This software is vector-based, meaning every line and shape you draw is based on mathematical calculations. No matter how much you zoom in, the quality remains perfect. For catalogs that aim to stand out with unique graphics, prominent logos, and custom icons, Illustrator is the ultimate choice.
Why Standard Design in Illustrator is a Win-Win for Your Brand?
In the digital space, clarity is everything. A catalog designed in Illustrator looks stunning on any screen—from small smartphones to 8K monitors—with the highest possible quality. But the main challenge is: how do you fit this infinite quality into a small file? Following technical guidelines in this program allows you to have a "luxury" catalog that opens at lightning speed.
Section 1: Foundation and Page Management (Artboards)
Illustrator is like a large canvas where you can arrange multiple pages side-by-side:
- Web Profile: When starting, always set the Profile to Web. This not only sets the color mode to RGB but also changes the measurement unit to Pixels, which is the universal language of all screens.
- Multiple Artboards: Instead of creating multiple files, use the Artboards panel. Create an artboard for each catalog page with a standard size (e.g., 1920 x 1080 pixels). This makes layout management much easier.
Section 2: Designing with Layers and Vectors (Professional Order)
Beginners often leave everything in one layer, but for a standard catalog:
- Layering: Separate the text, image, and background layers. This increases your editing speed 100x.
- Vector Power: Use vector shapes instead of heavy photos whenever possible. For example, instead of a photo of a green checkmark, draw it with the Pen Tool. This drastically reduces the final file size.
Section 3: Image Management (Links vs. Embed)
This is the most vital section for controlling file size:
- When you import a photo, Illustrator asks whether to Link or Embed it. To keep your main file lightweight and prevent the software from lagging, always Link the images. Illustrator will only show a low-res preview, but it will call the full quality during export.
Section 4: Interactivity and Output (Interactive PDF)
Illustrator isn't as robust as InDesign for complex buttons, but you can still make it clickable:
- Attributes: You can assign links to objects via the Attributes panel. However, the best way is to save the file as a PDF and add final links in software like Adobe Acrobat to ensure they work perfectly.
Technical Summary & Implementation Checklist
Here are the step-by-step technical stages to ensure a lightweight, high-quality output in Adobe Illustrator:
1. Initial Digital Document Settings:
- Path: File > New
- Select the Web tab.
- Set Raster Effects to 72 ppi for faster previews.
- Create the required number of pages in the Number of Artboards section.
2. Optimizing Imported Images:
- Use the command: File > Place.
- Uncheck the Link option only if you are sending the file to someone else (otherwise, keep Link checked to maintain a lightweight file size).
- Use the Clipping Mask tool (Ctrl + 7) to crop image edges instead of using eraser tools.
3. Converting Text to Shapes (Outlining):
- Select the final text.
- Create Outlines: Shortcut Ctrl + Shift + O.
Note: This ensures your font displays correctly on all devices, but it will no longer be editable; always keep a backup copy.
Compress & Export PDF
- Path: File > Save As
- Select the format: Adobe PDF.
- In the settings window: Select Preset [Smallest File Size].
- Uncheck the option "Preserve Illustrator Editing Capabilities": This can reduce file size by up to 90%!
5. Enabling Fast Web View:
- In the same PDF save window, go to the General section.
- Check the box for "Optimize for Fast Web View".
Adobe Illustrator Vector Checklist
Ideal for: Cover designs, single-page catalogs (Flyers), and graphic elements.
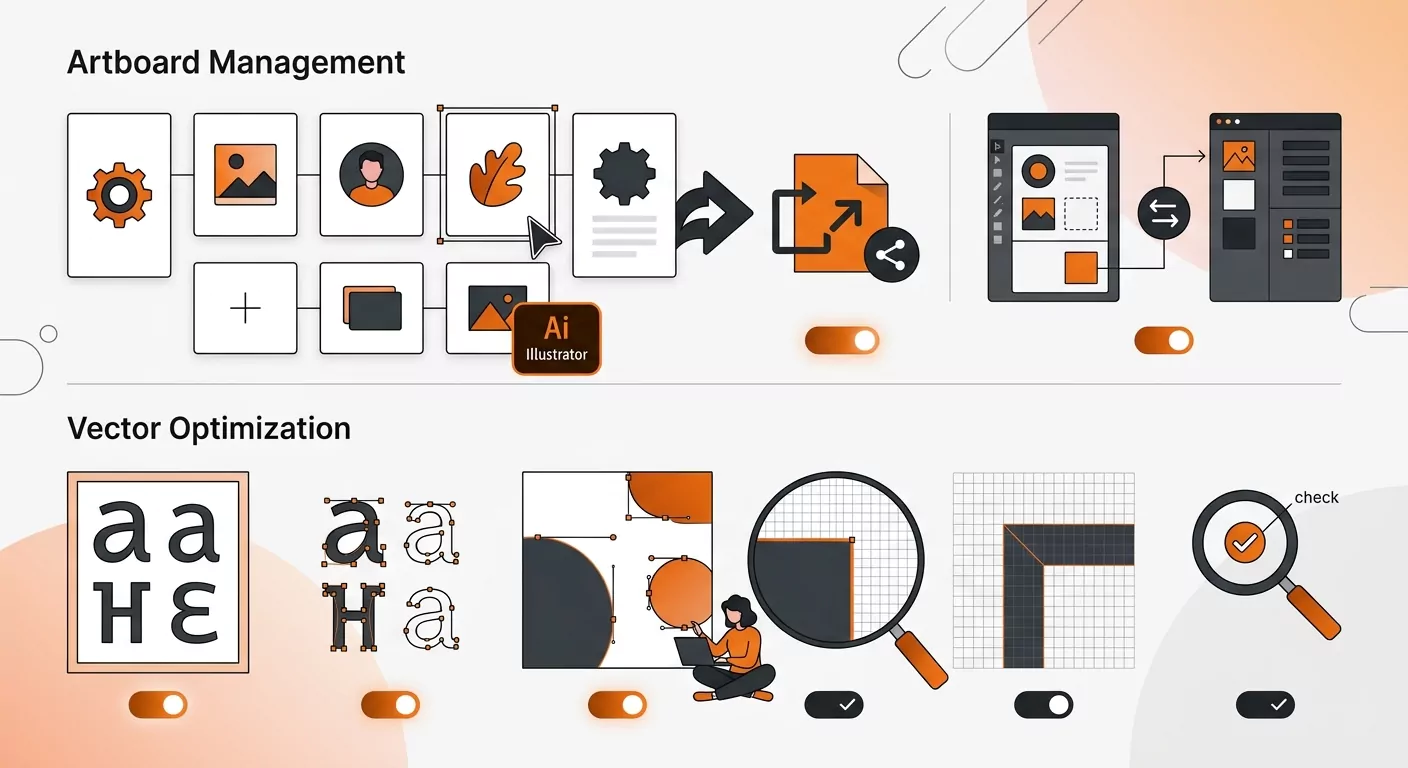
A) Artboard Management
- [ ] Artboard Organization: Create a separate artboard for each page in the correct order.
- [ ] Asset Export: Save icons and logos in SVG format for loss-free use in InDesign or Canva.
B) Vector Optimization
- [ ] Outline Fonts: Before final export (if sending the source file), convert all text to shapes (Ctrl + Shift + O).
- [ ] Pixel Preview: Check the catalog in Pixel Preview mode to ensure elements don't have jagged edges on digital screens.