

Digital Catalog Design Guide in Affinity Publisher - Professional Precision with Modern Technology
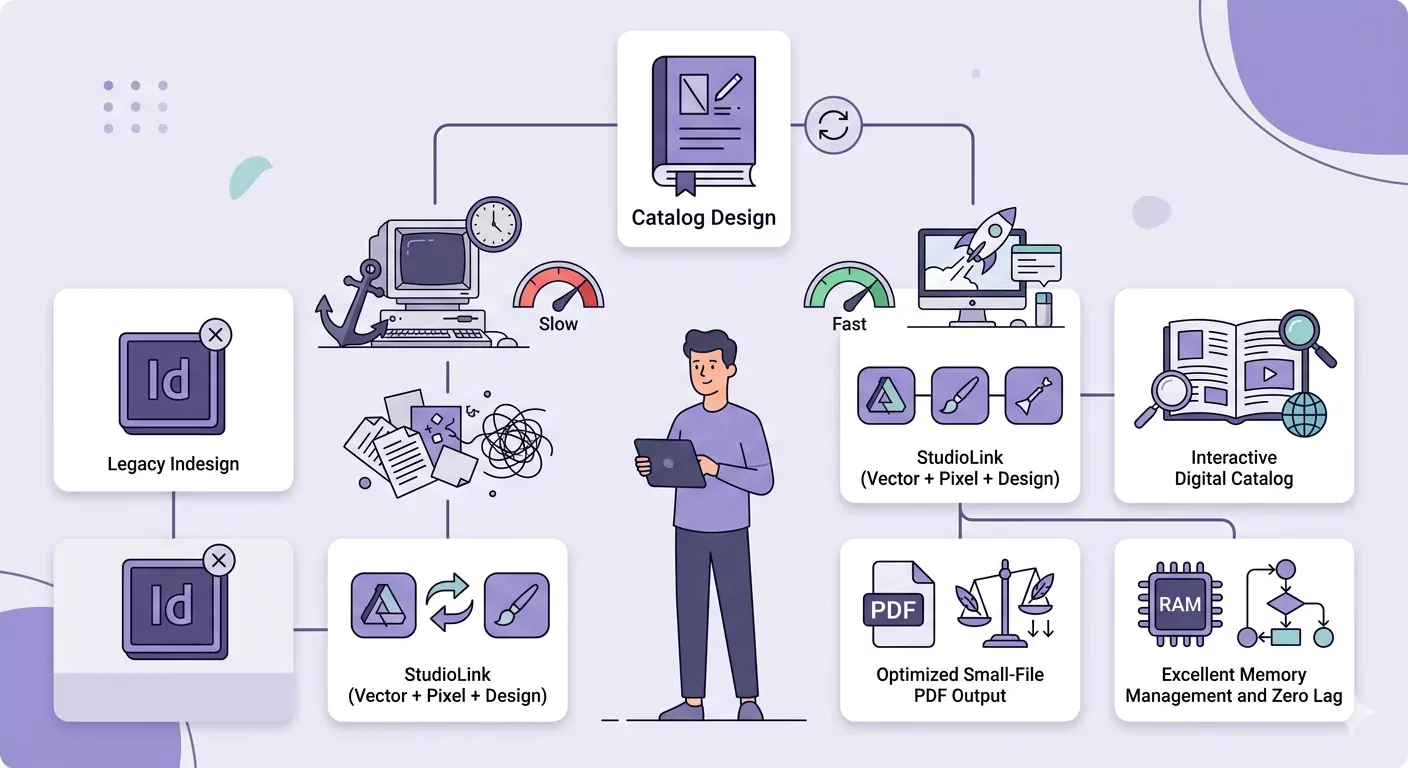
Welcome to the world of Affinity! If you are tired of the excessive weight and complexity of old software, this program is a breath of fresh air for you. Affinity Publisher, due to its incredible speed and excellent memory management, allows you to design highly detailed catalogs without the slightest lag. In this article, you will learn how to use the unique StudioLink feature for direct image editing and ultimately deliver a digital catalog with 2026 standards.
Why is Affinity Publisher a Smart Choice for Independent Designers?
The greatest strength of this program lies in its integration. You can directly access vector design or pixel editing tools without closing your catalog. Additionally, Affinity's export engine is very intelligent, producing interactive PDF files with a much smaller size than competitors while maintaining the same visual quality.
Section 1: Initial Configuration and Layout (Digital First)
In Affinity, everything is designed for millimeter precision:
- Choosing a Digital Profile: When creating a new document (Ctrl + N), select Digital from the Preserve section. This ensures all settings are optimized for screens (RGB) from the start.
- Setting Spreads: If you want your catalog to be viewed as double-pages on a desktop, enable the Facing Pages option. However, for WhatsApp catalogs, vertical single pages get the best feedback.
Section 2: Smart Resource Management (Linked Images)
Affinity is a master at managing large files:
- Resource Manager: Instead of Embedding images inside the file, Link them. This keeps your main file very lightweight and prevents software slowdowns. If you change a photo in Photoshop, Affinity will automatically update it in the catalog.
Section 3: Interactivity and Dynamic Buttons
To make your catalog clickable:
- Hyperlinks Panel: Open this panel from View > Studio > Hyperlinks. You can add web links, emails, or even page-jump links to text, photos, or any graphic shape.
- Anchor Points: You can define "Anchors" for specific products so that when a customer clicks on a product name in the index, they are directed exactly to that spot on the page.
Section 4: Optimized Output (The Perfect PDF)
Affinity has very precise settings in the Export section to control file size:
- PDF (Digital): When exporting, select the PDF (Digital - Small Size) profile. This setting intelligently preserves vectors while compressing only the heavy images.
Technical Summary & Implementation Checklist: Affinity Publisher
Here is a review of the technical steps for building a professional catalog in Affinity Publisher:
1. Document Settings for Screens:
- Path: File > New
- Document Type: Digital
- Measurement Unit: Pixels
- Set Color Space to RGB/8
2. Using Master Pages:
- In the Pages panel, double-click on Master A.
- Insert automatic page numbering: Text > Insert > Fields > Page Number
- Place fixed brand headers and footers.
3. Quick Image Editing (StudioLink):
- Click the Photo Persona icon in the top toolbar (if you have Affinity Photo installed).
- Directly edit the color and lighting of the photo without leaving the catalog environment.
4. Creating Active Links:
- Select the object or text.
- Right-click and select Interactive > Insert Hyperlink.
- Set the link type to URL and enter the website or WhatsApp address.
5. Final Export & Compression Settings:
- Path: File > Export
- Select PDF format.
- Select Preset: PDF (digital - small size).
- Click the More button.
- Ensure Allow Advanced Features is enabled.
- Set Downsample Images to 150 DPI.
- Enable Optimize for Fast Web View.
Professional Checklist: Affinity Publisher
Ideal for: Those seeking a powerful and economical alternative to InDesign..
A) Integration (StudioLink)
- [ ] Persona Switching: Switch between pixel and vector design tools and modify images without leaving the program.
- [ ] Resource Manager: Ensure all images are Linked instead of Embedded to keep the project file size lightweight.
B) Final Output
- [ ] PDF Passthrough: Ensure the PDF output complies with standards for correct display in web browsers.
Read More
لنوس، پلتفرم انتشار کاتالوگ و نشریات تعاملی
2026 Digital Catalog Design Engineering; The Checklist to Turn Your Catalog into a Sales Machine!
Product Page Layout Design Techniques in Smart Catalogs: Arranging for Maximum Conversion Rates
Free Digital Catalog Design: Best AI Tools and Ready-Made Templates for Content Production
لیست فنی عکاسی محصول برای کاتالوگ دیجیتال: بهینهسازی وضوح، فرمت و سئو تصاویر


